One of my requirements for the winter table is a stream. With table top plonk on pieces it’s always a compromise between look and practicality. I have a few different stream / rivers purchased from manufacturers ready done . none of which I am really happy with , or would fit with the winter table , so I decided to make one myself .
I wanted a deep dark colour , and with possibly some frozen pieces - though flowing water doesn’t freeze easily .
Pendraken are releasing some new MDF pieces as basic starters for rivers and also roads and Leon kindly let me have some advance pieces. They are in a range of lengths and widths and shapes with a straight flat end . So just the job to start with for a prototype. The items could easily just be base coloured and away you go for a quick solution. But me being me I wanted something more realistic .
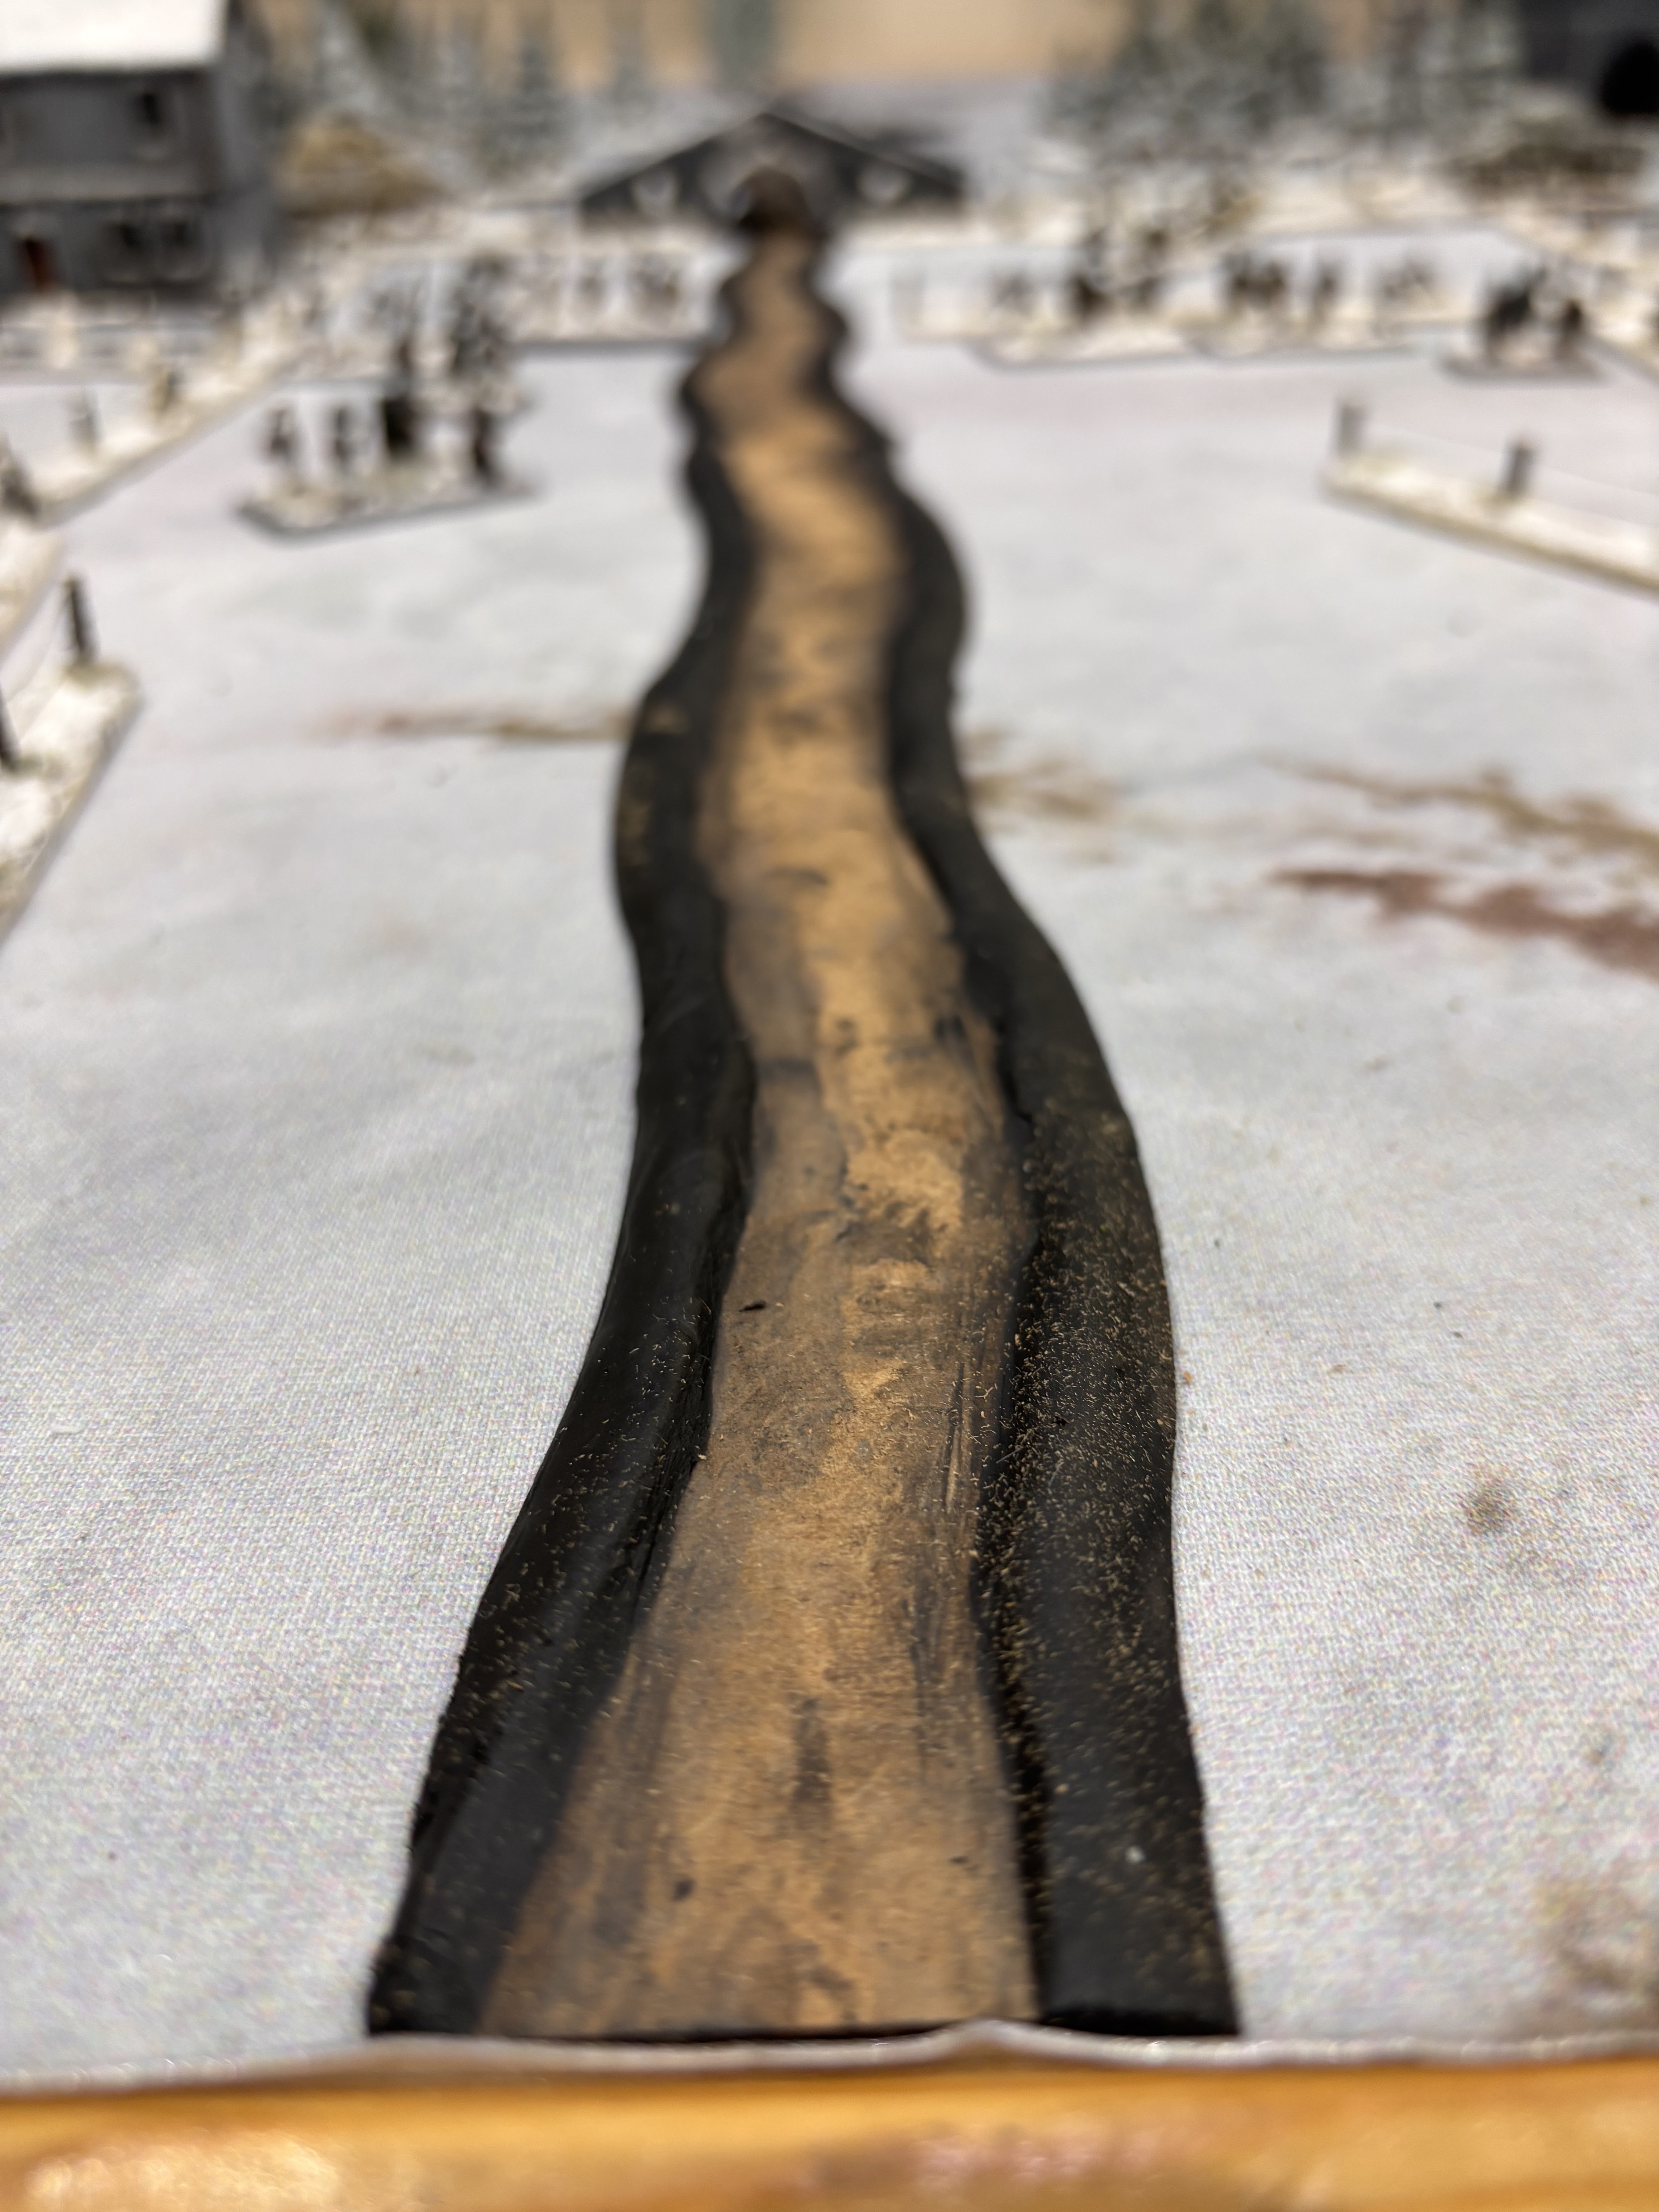
First up a few pictures of the end result
So here is the making it steps .

|
| The basic pieces 35-30 mm wide and with various shapes up to 300mm long |
 |
| The items being used - all of which were in hobby stash anyway |
 |
First job was to chamfer the edge with a craft knife and a file .
Do this in a well ventilated space |
 |
Milliput added to make up some bank sides.
This is also very rigid so less potential to warp. |

|
All sprayed up in the Raven black - which is charcoal colour
Both sides are sprayed to seal the MDF.
|

|
Painted dark black /green stream base and then it had a black wash too.
Also painted the banks a flat brown . I did consider adding some small rocks at this stage , maybe I might do in the next few sections . |
 |
I used masking tape to cover end joining pieces.
Then added the Yacht Varnish with a big brush .This is slow drying |
 |
After the varnish has been drying for a few hours I stippled the surface with a brush.
In another project I found a hair dryer also produced various effects too. |
I allowed everything to dry for 48 hours .
 |
| Next was a fine overspray of Matt varnish and the grey to break up the gloss slightly . This was done from about 18 inches away with just a quick movement. Next was a white grey drybrush of the banks and apply the snow paste. |
 |
| I did a little drag of the snow paste across the water area in some place to indicate a bit of movement . |

|
| I added some snow tufts onto the middle island piece that had been made from milliput |
It took me a couple of sessions overall so about 8-10 hours - the longest bit being the milliput. I am sure some form of caulk in a gun would do a similar job . Some processes need overnight drying time too.
Job done for now . I have about 8 feet done and will add another 4 - 6 to give me more variations at some point . Very pleased with the end result. It has made me think about downing something fir the summer tables


Looking fabulous Dave! Me 'n' Lee need a river for our Retreat from Mocow project. This has given me a few great ideas! Thanks!
ReplyDeleteHappy to be if service . Ping me direct if you have any questions . If you want any of the Pendraken stuff message them direct until it’s on the website
DeleteThat is really effective.
ReplyDeleteThanks
DeleteLooks great Dave a very ‘cool’ set of terrain 👍
ReplyDeleteCheers - yes it’s certainly got the look now I think
DeleteNice job Dave, it looks great
ReplyDeleteCheers
DeleteThis is a very timely post for me as I'm about to embark on the battle of Trenton in the AWI.
ReplyDeleteder Alte Fritz (Jim)